> For the complete documentation index, see [llms.txt](https://clients.medianova.com/llms.txt). Markdown versions of documentation pages are available by appending `.md` to page URLs; this page is available as [Markdown](https://clients.medianova.com/products/performance-cdn/dynamic-content-acceleration/integrating-dynamic-cdn-resource.md).
# Integrating Dynamic CDN Resource
After [creating a Dynamic CDN Resource](/products/performance-cdn/dynamic-content-acceleration/create-dynamic-resource.md), configure caching, SSL, and DNS before directing production traffic through the CDN.
{% hint style="info" %}
Before updating your DNS records, verify that your [Dynamic CDN Resource](/products/performance-cdn/dynamic-content-acceleration/create-dynamic-resource.md) is working correctly.
{% endhint %}
## Configure caching
Configure how the CDN caches dynamic and static content.
{% stepper %}
{% step %}
### Open your Dynamic CDN Resource and select the Caching tab.
{% endstep %}
{% step %}
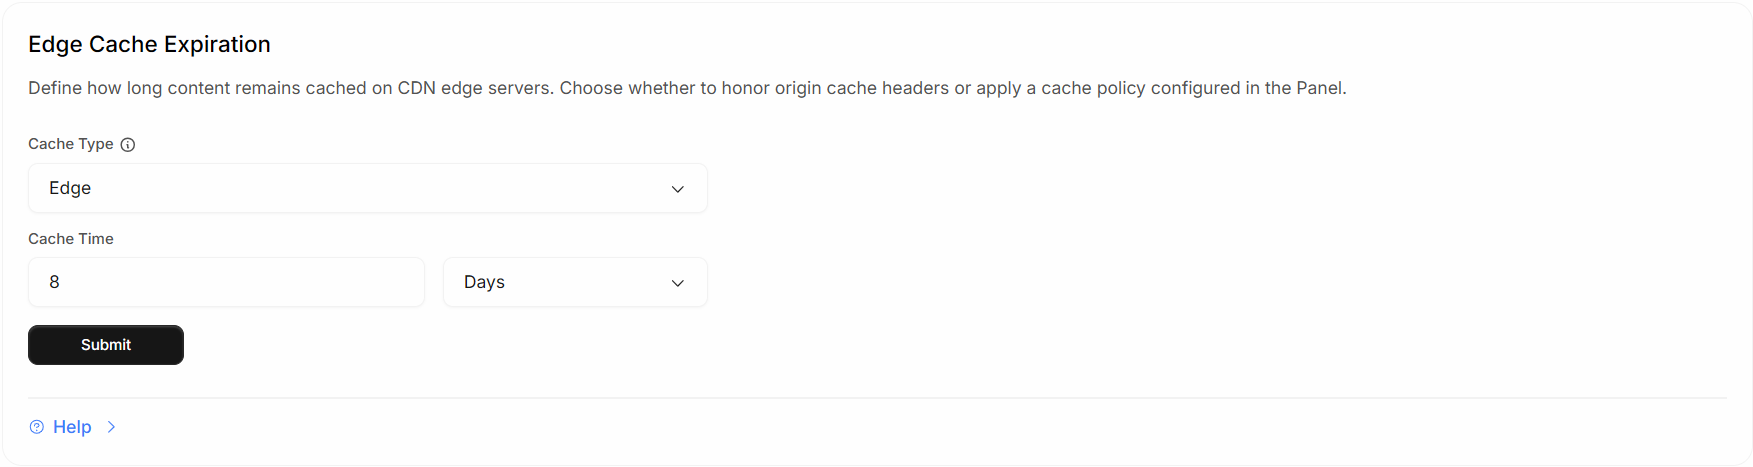
### **Configure the Cache Settings section.**
Select one of the following cache types:
* **Origin** — Uses the `Cache-Control` headers returned by your origin server.
* **Edge** — Uses a cache duration configured in the CDN.
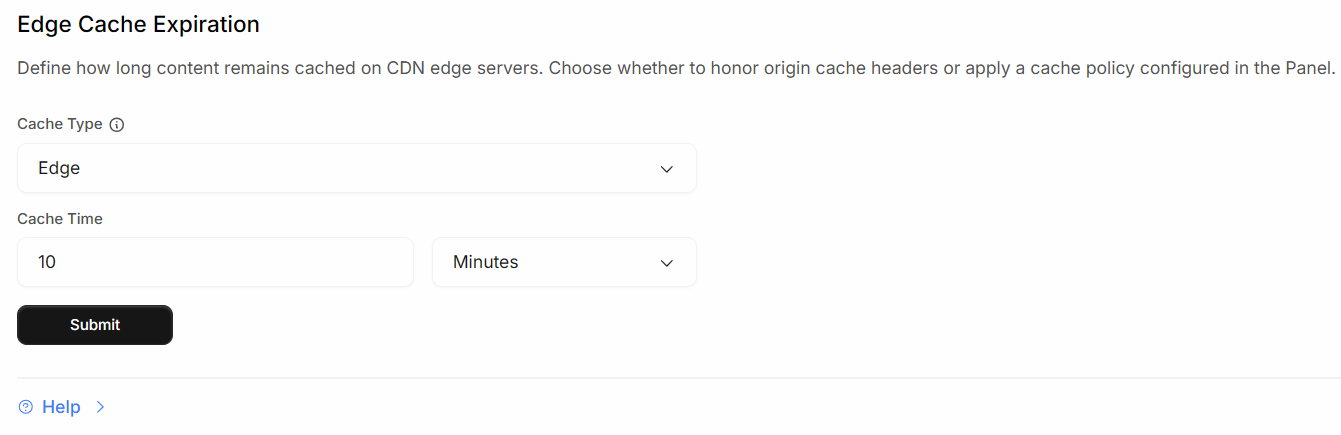
If you select **Edge**, specify:
* **Cache Expiration**
* Whether to **Cache Dynamic Pages**
Save your changes.
{% endstep %}
{% step %}
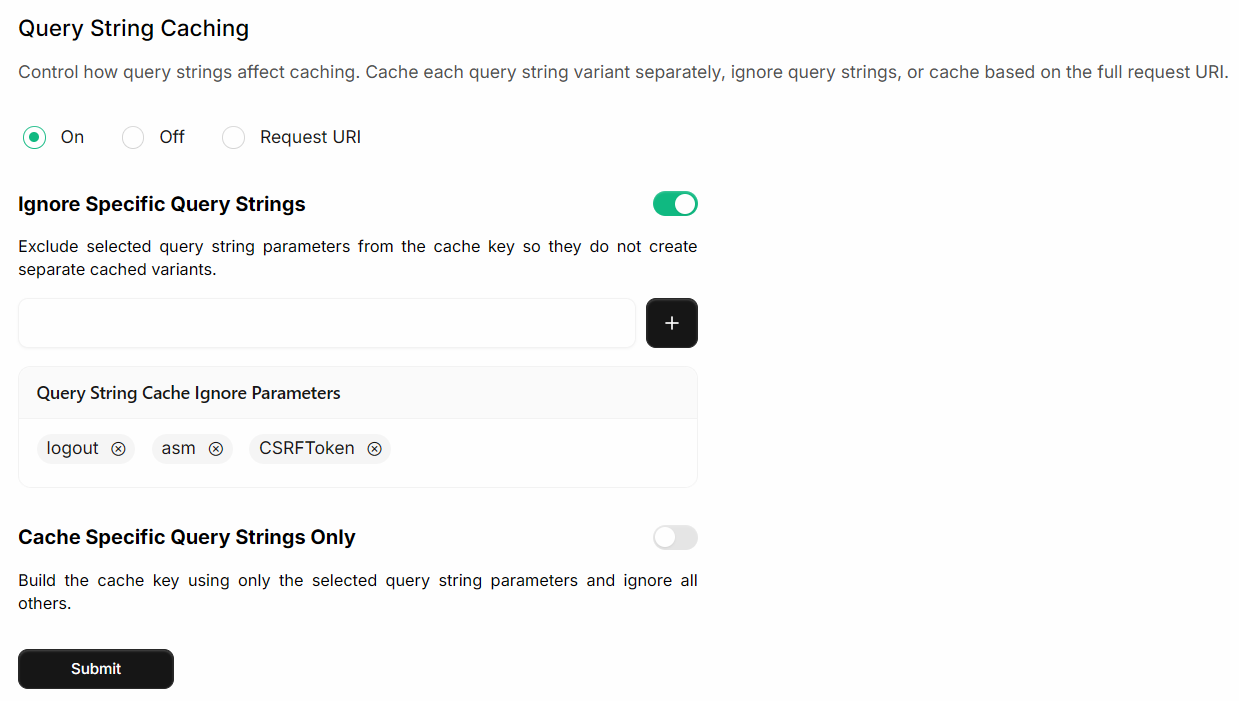
### Configure [Query String Caching](/products/performance-cdn/static-content-delivery/advanced-configuration/caching/query-string-caching.md).
Choose whether query strings create separate cache entries or are ignored during caching.
{% endstep %}
{% endstepper %}
## Exclude sensitive pages from caching
If **Cache Dynamic Pages** is enabled, HTML pages can also be cached.
Exclude pages containing personalized or sensitive information, such as:
* User account pages
* Checkout pages
* Payment pages
* Profile pages
You can bypass caching using one of the following methods:
### Option 1: Configure Page Rules
Create a [**Page Rule**](/products/performance-cdn/static-content-delivery/advanced-configuration/page-rules.md) that sets the appropriate cache behavior for specific paths or URL patterns.
### Option 2: Configure Cookie Based Cache Bypass
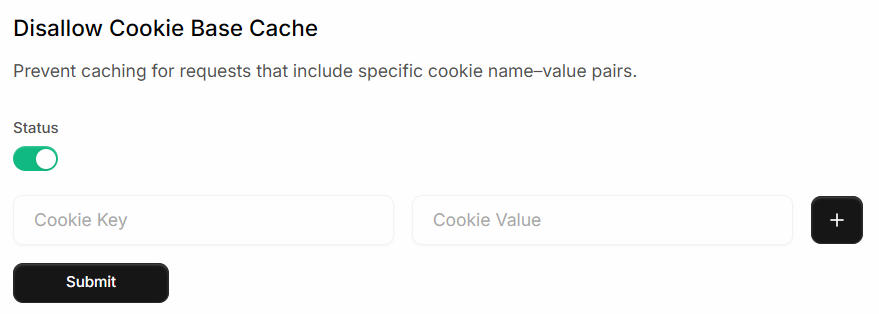
Configure [**Disallow Cookie Based Cache**](/products/performance-cdn/dynamic-content-acceleration/advanced-configuration/caching/disallow-cookie-base-cache.md) in the **Caching** tab.
Specify the cookie name and value that identify requests which should always be served from the origin.
## Configure SSL
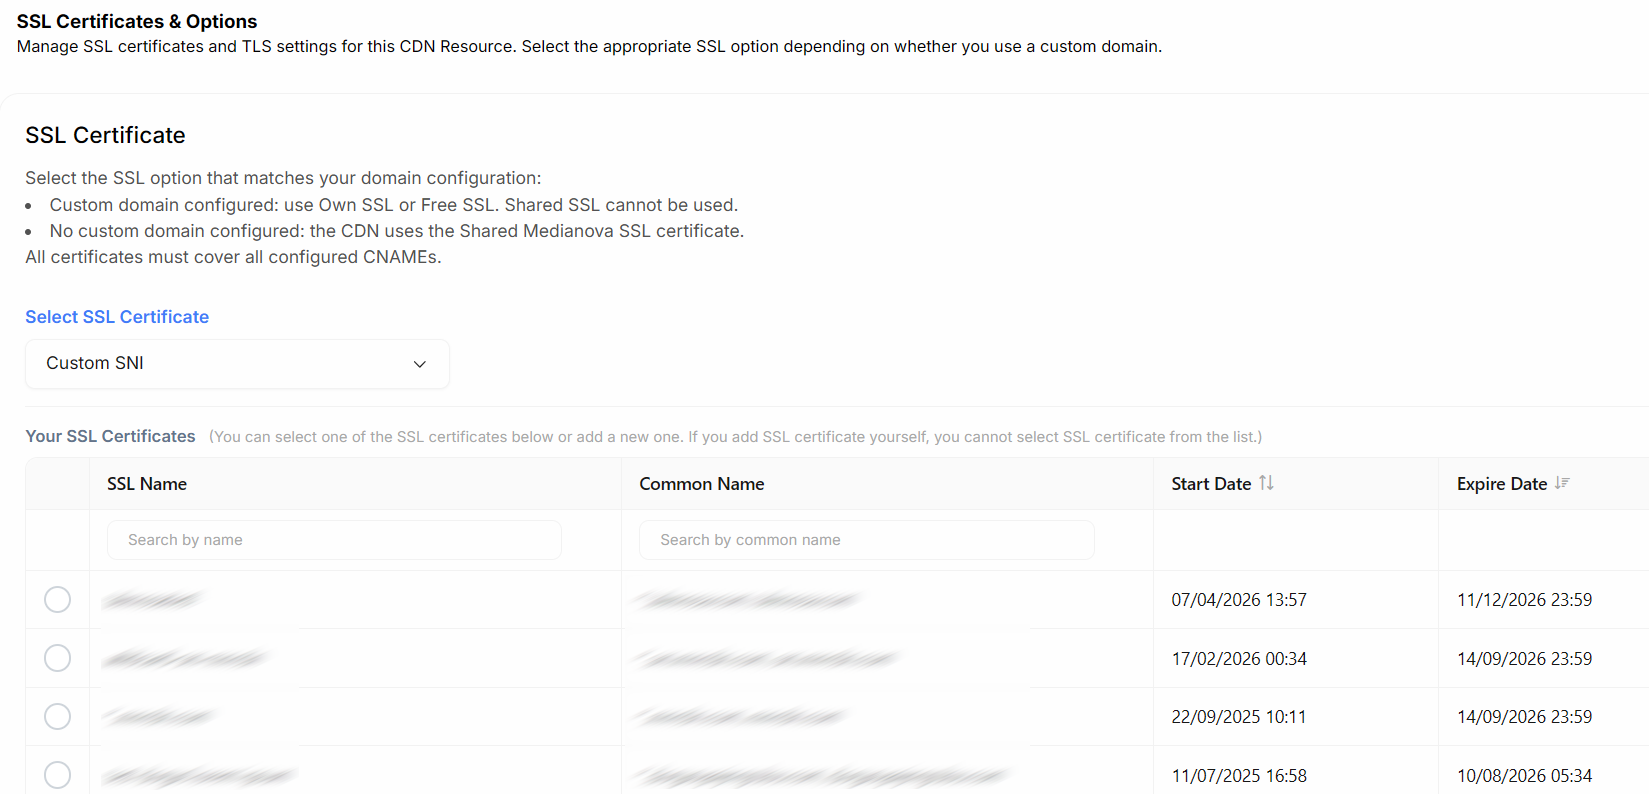
Upload or assign an [SSL certificate](/products/security/ssl-tls-encryption.md) from the **SSL** tab.
Your custom domain should use a valid certificate before production traffic is routed through the CDN.
## Test the CDN configuration
Before updating DNS, verify that requests are served through the CDN.
{% stepper %}
{% step %}
### Find the IP address of your CDN hostname.
Example:
```c
ping .mncdn.com
```
{% endstep %}
{% step %}
### Update your local hosts file
Temporarily map your domain to the CDN IP address by editing your local **hosts** file.
This allows you to test the website without changing public DNS records.
{% endstep %}
{% step %}
### Verify CDN response headers
Clear your browser cache and open your website.
Inspect the response headers in your browser's Developer Tools.
Verify that the response contains the following header:
```c
Server: MNCDN
```
This confirms that the request is being served through the Medianova CDN.
{% endstep %}
{% endstepper %}
## Update your DNS
After testing completes successfully, create a CNAME record that points your domain to the CDN hostname.
Example:
```
yourdomain.com IN CNAME .mncdn.com
```
DNS propagation times depend on your DNS provider and configured TTL values.
### Verify production traffic
After DNS propagation completes:
* Confirm that requests are reaching the CDN.
* Verify that SSL is functioning correctly.
* Review cache behavior using the response headers.
* Monitor requests from the [**Analytics**](/products/performance-cdn/dynamic-content-acceleration/analytics.md) dashboard.
---
# Agent Instructions
This documentation is published with GitBook. GitBook is the documentation platform designed so that both humans and AI agents can read, navigate, and reason over technical content effectively. Learn more at gitbook.com.
## Querying This Documentation
If you need additional information that is not directly available in this page, you can query the documentation by asking a question.
Perform an HTTP GET request on the following URL with the `ask` and `goal` query parameters:
```
GET https://clients.medianova.com/products/performance-cdn/dynamic-content-acceleration/integrating-dynamic-cdn-resource.md?ask=&goal=
```
`ask` is the immediate question: it should be specific, self-contained, and written in natural language.
`goal` is what the user is ultimately trying to achieve, the reason they need the answer. Sharing it helps GitBook give you a better, more relevant answer. A goal is most helpful when it describes the outcome the user wants rather than restating the question. For example, with `ask=how do I create an API token`, a goal like `automate deployments from our CI pipeline` lets GitBook tailor the answer to that use case.
The response will contain a direct answer to the question and relevant excerpts and sources from the documentation.
Use this mechanism when the answer is not explicitly present in the current page, you need clarification or additional context, or you want to retrieve related documentation sections.