WordPress Medianova CDN Integration
WordPress, one of the world’s most common content management systems (CMS); Open source structure, easy installation and user-generated theme and plug-in support for each topic has a use.
With WordPress, it is possible to create a blog, business site, portfolio, an online store or anything of your dreams. Many users around the world may want to access content on a website created with WordPress. But that’s it doesn’t possible all the time!
You need to make a good CDN selection for a fast-loading WordPress site. With Medianova CDN; static content on WordPress pages will no longer be delivered from the source server, but always from the nearest Medianova CDN server.
You can easily change the static content URL with CDN URL using the “Medianova CDN” plugin. You follow the following steps make the Medianova CDN WordPress integration.
Note: We recommend back up the CMS before the integration.
First, log in to https://cloud.medianova.com/ to create a Medianova CDN resource for your content. You need to create Small Resource for your image content like jpg, png, and Large Resource for your video content like mp4.
Enter the WordPress admin panel.
Open a new plugin page by clicking go to Plugins → Add New in the WordPress menu.

Search the search engine for the keyword “Medianova”.
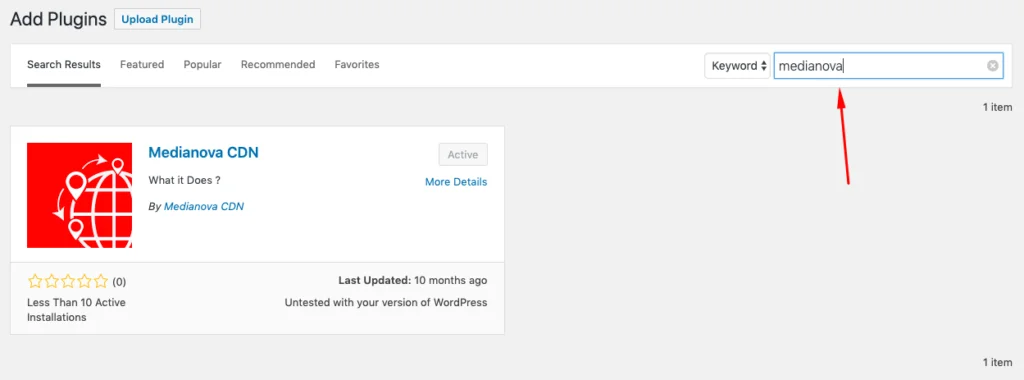
Download the plugin and activate it first if it is not active.
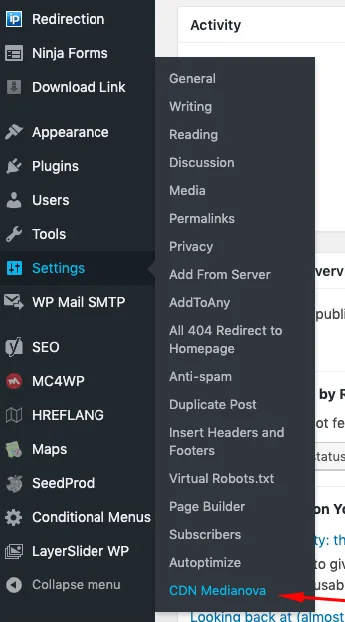
If the plugin is active, go to the Plugin settings page by clicking Settings → CDN Medianova.
Enter the CDN URLs, folders to include, and file extension to exclude and click “Save Changes”.
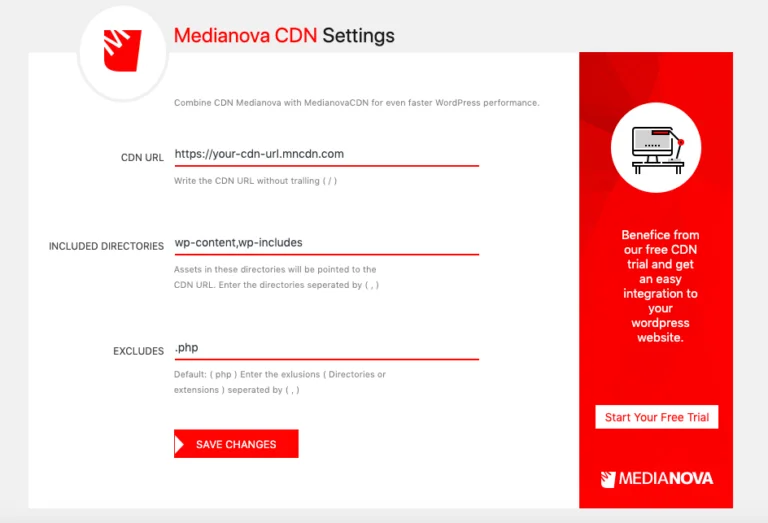
Note: If you have more than one file extension to include; extensions using comma (,).
Note: You can use the https://docs.medianova.com/en/medianova-cdn-user-integration/ link to view the CDN URLs of your Resource.